Posted on

How to Assemble Raspberry Pi 3 Black ABS Case

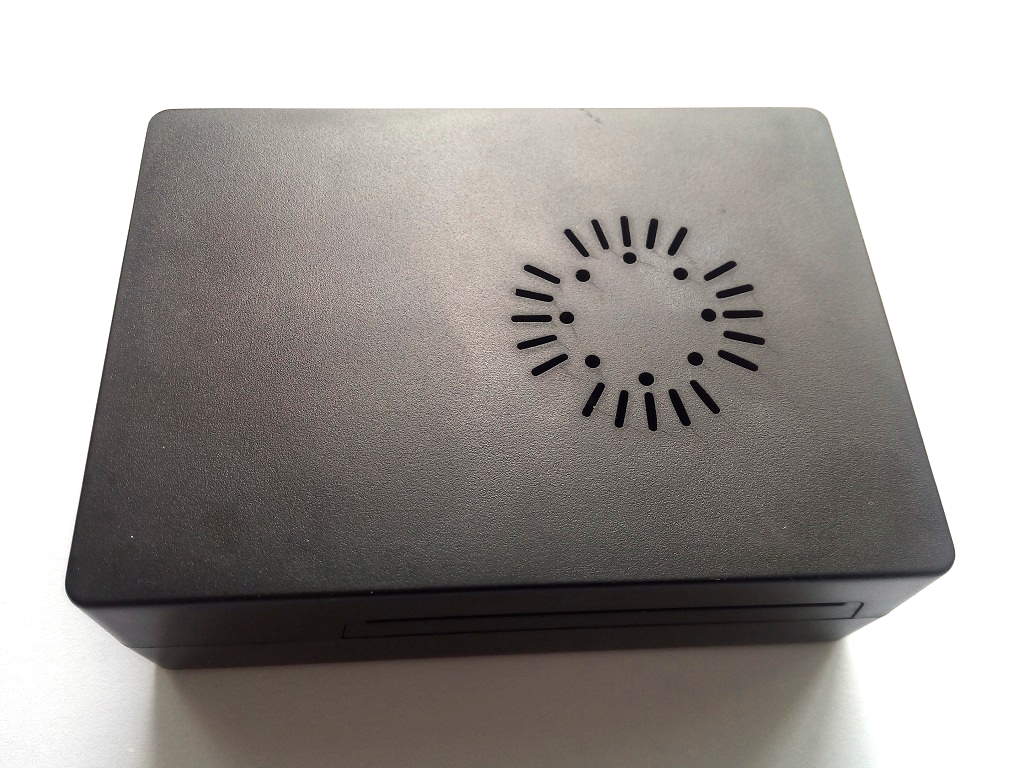
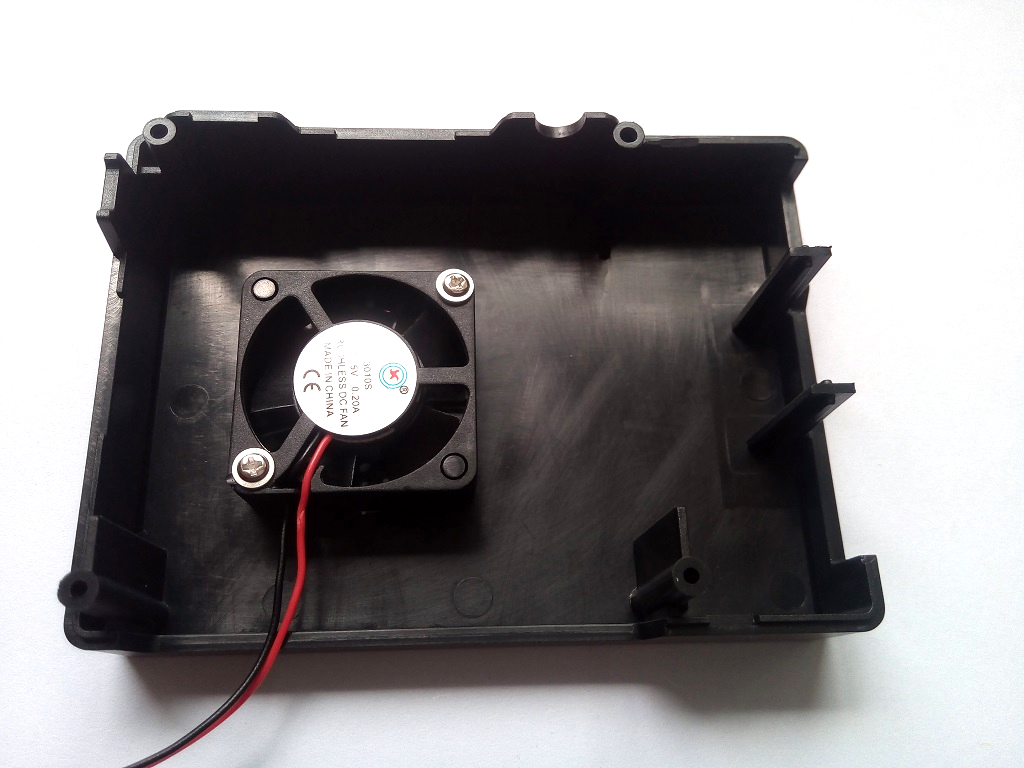
Take out the upper case (the one with fan holes) from the package.

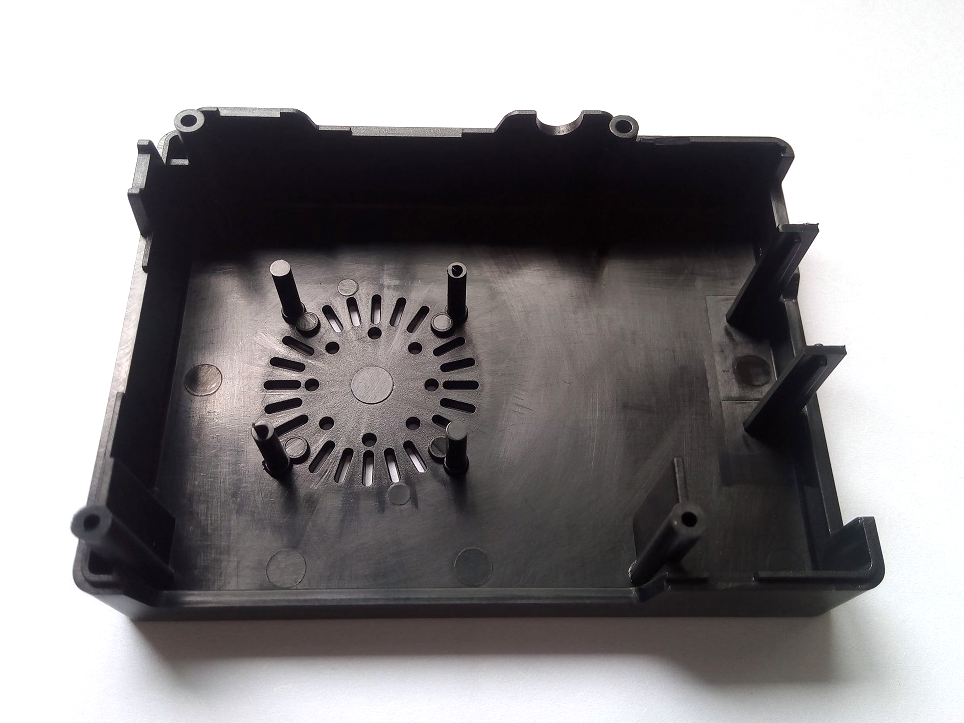
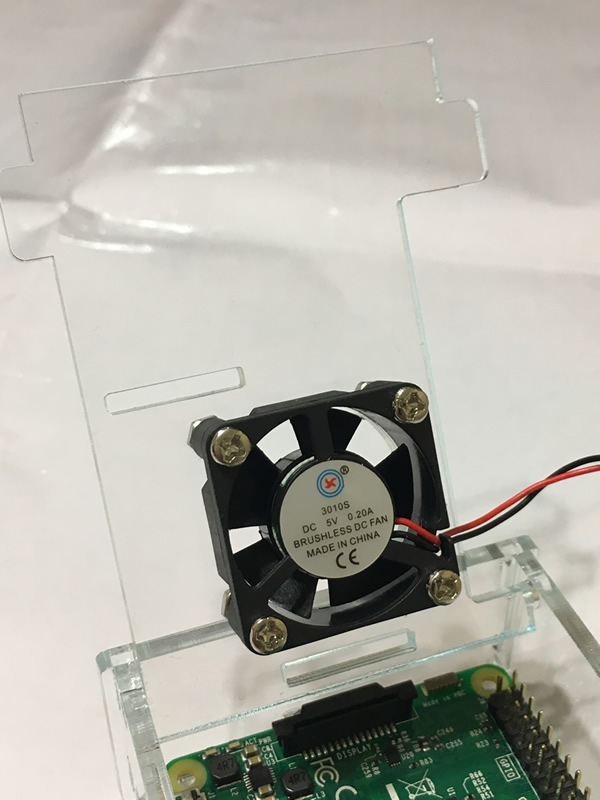
Align the fan with the four posts, note the sicker side of the fan should be facing up.

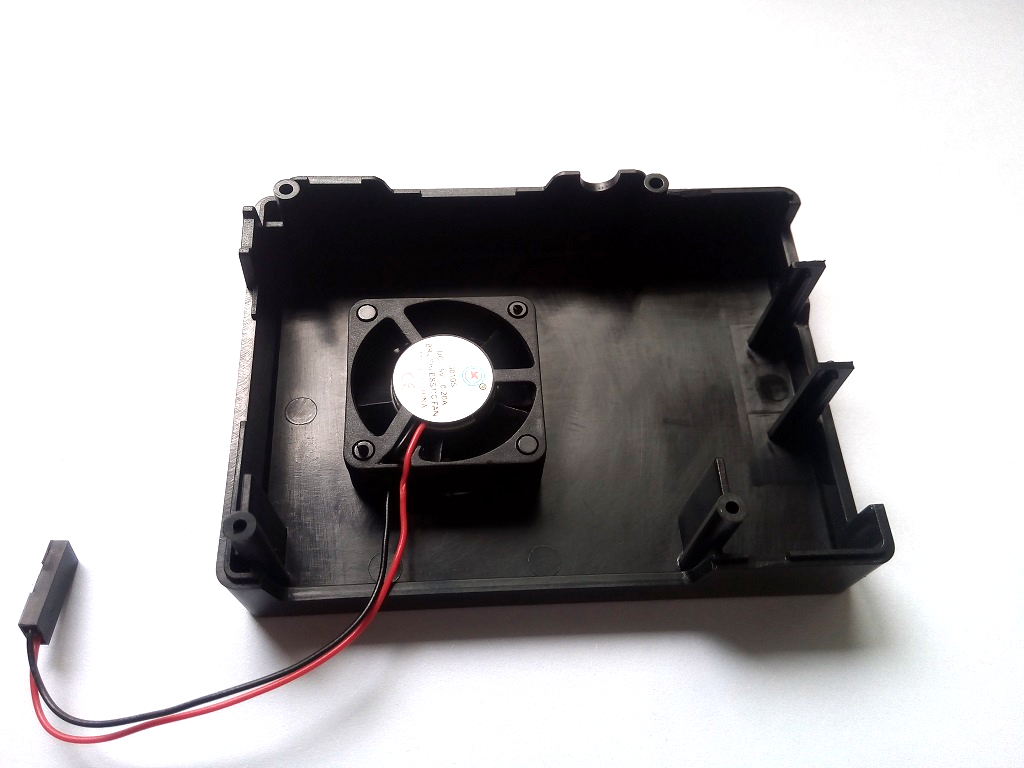
Secure the fan using two screws with washers.


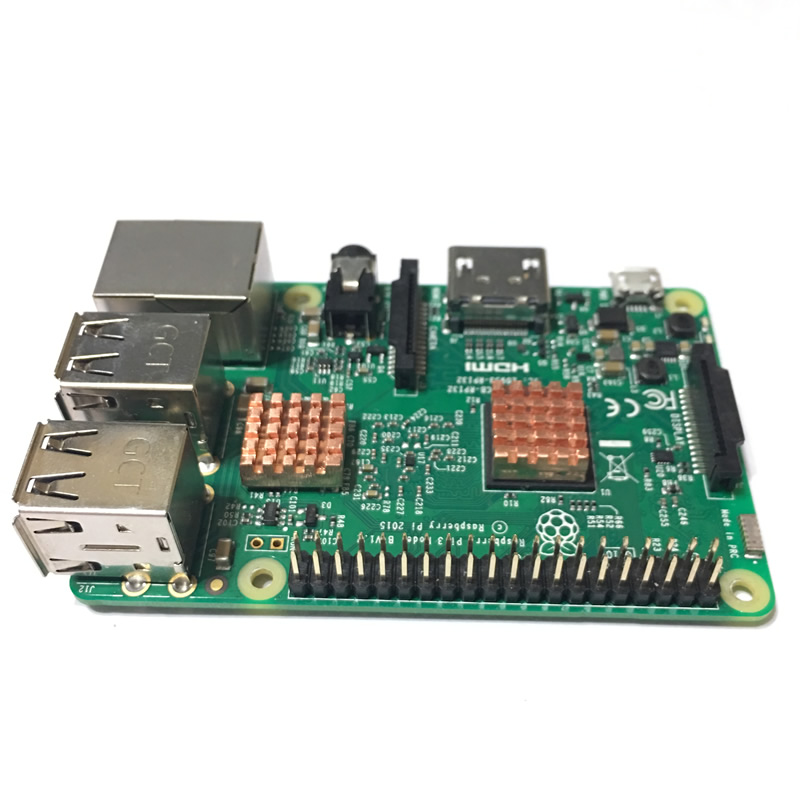
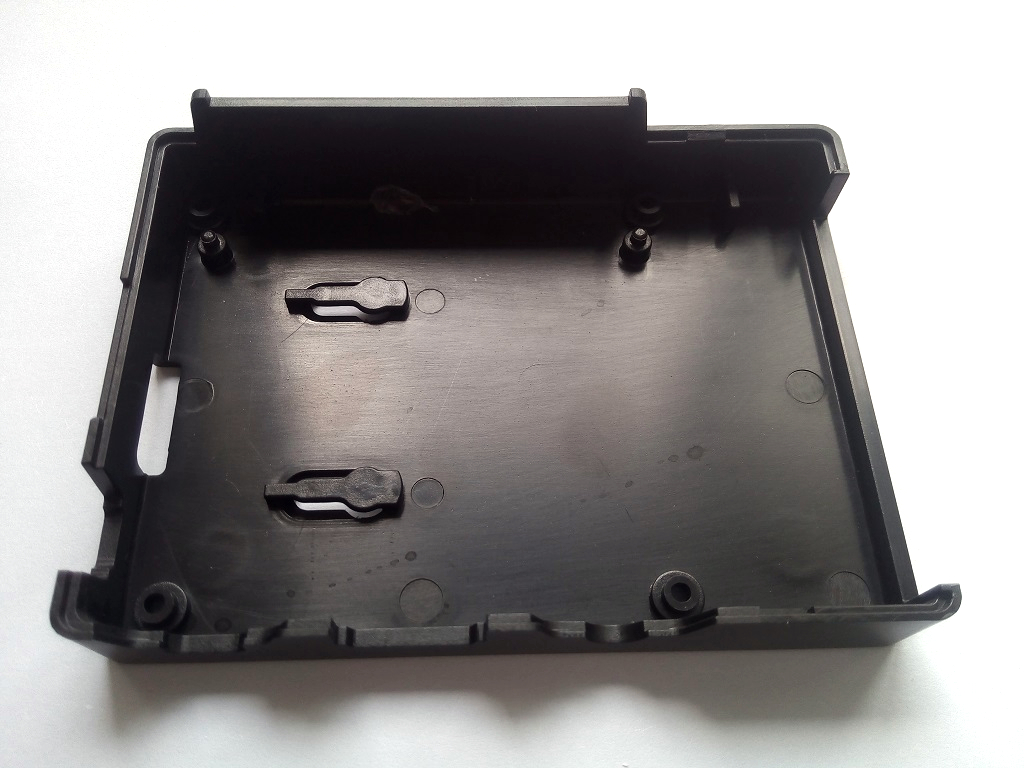
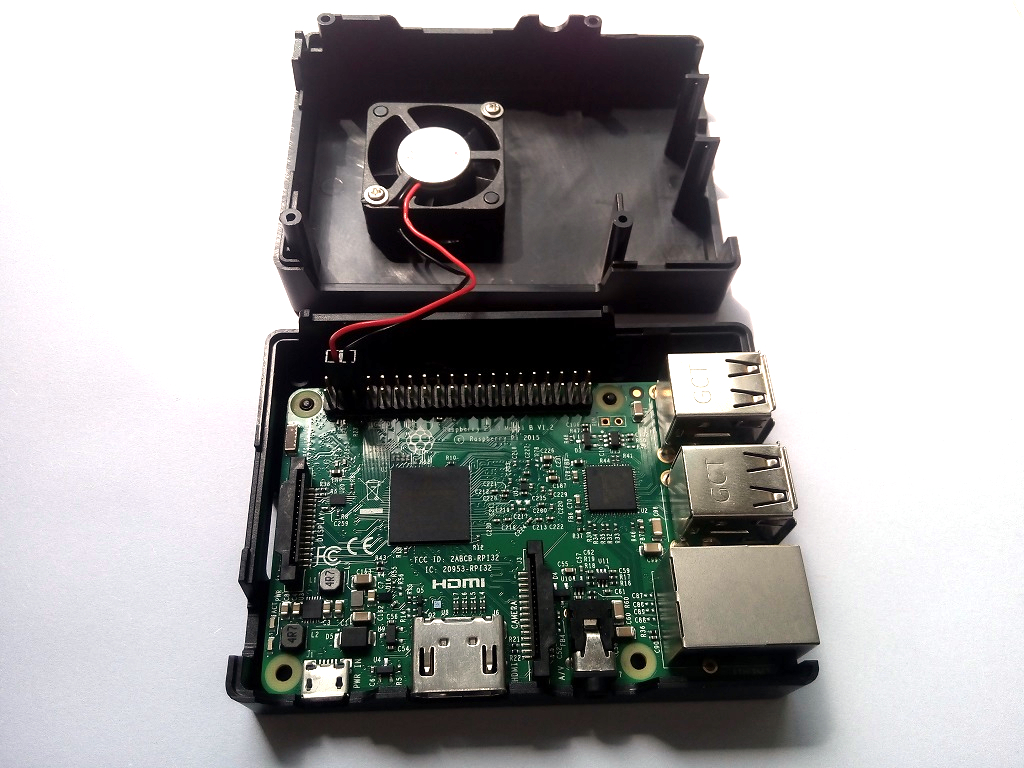
Take out the lower case from the package. Place the Raspberry Pi board into the lower case. Note there are posts on the lower case used to align the board. Make sure the Ethernet and HDMI openings align correctly to the corresponding ports on the Raspberry Pi board.

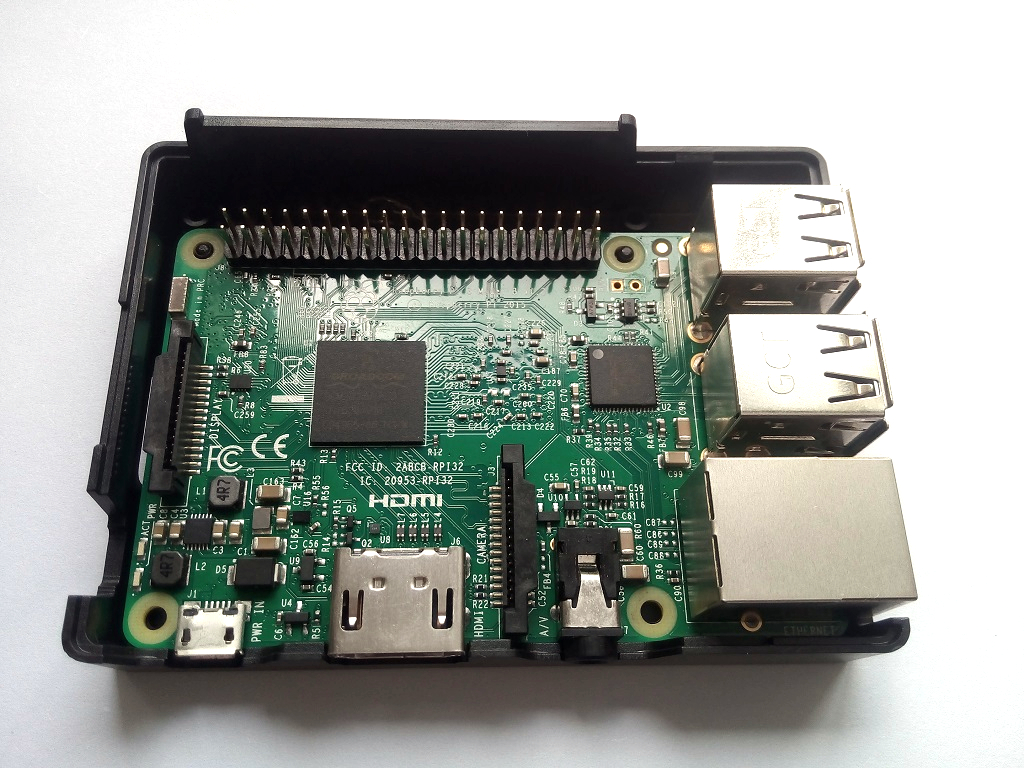
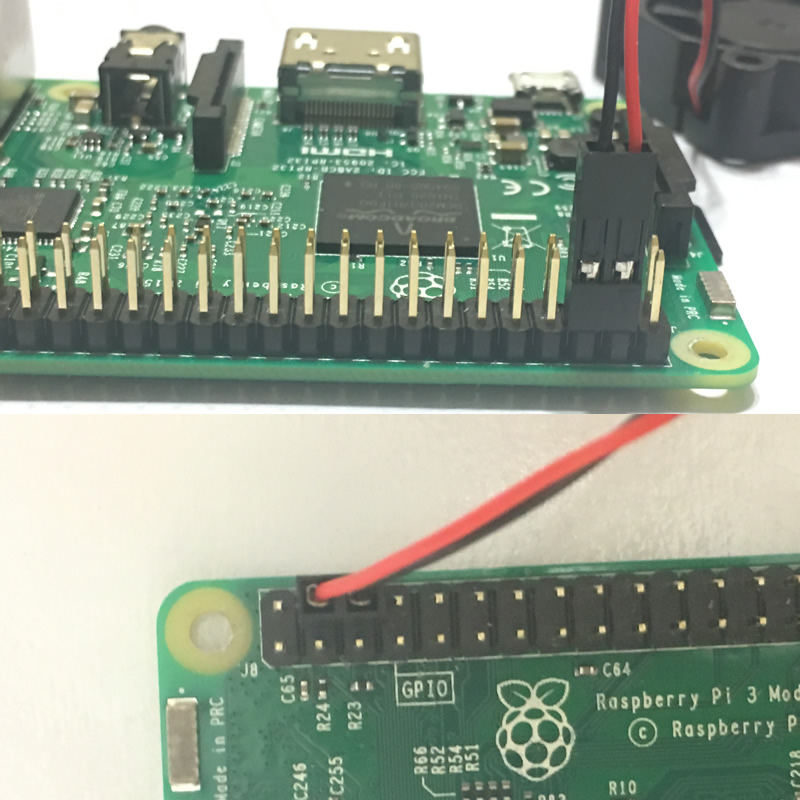
Connect the wires of the fan to the Raspberry Pi GPIO. Note the positions of the red/black wires. The red wire should be on the first row, second pin from left.

Fit the upper and lower case together.

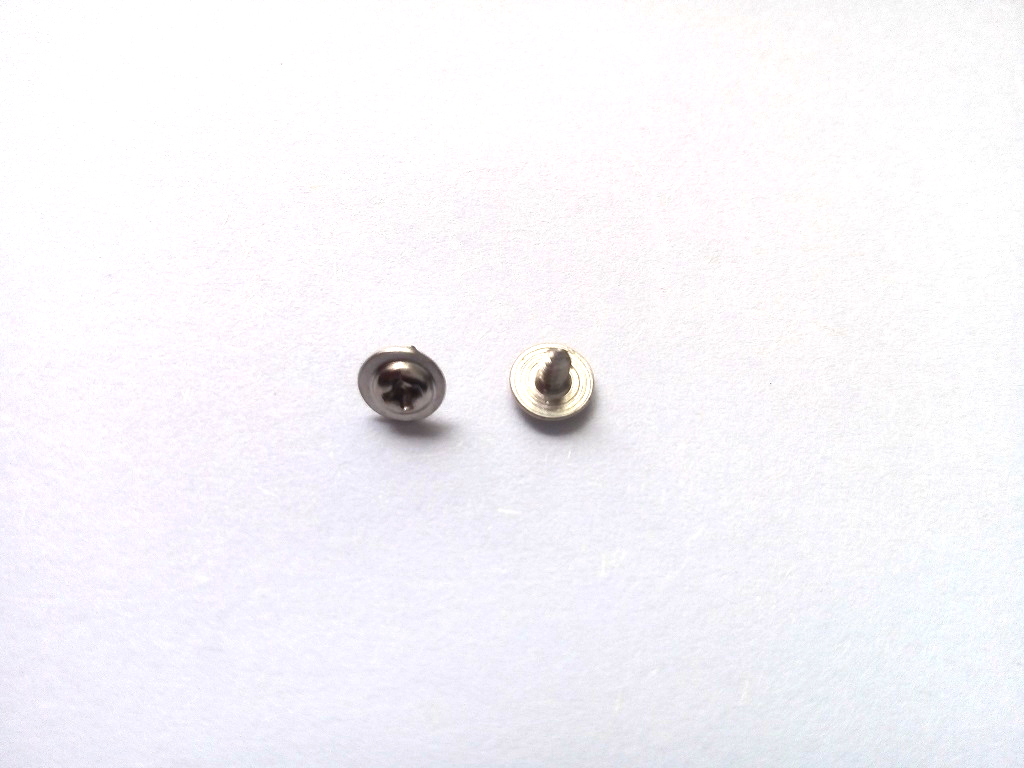
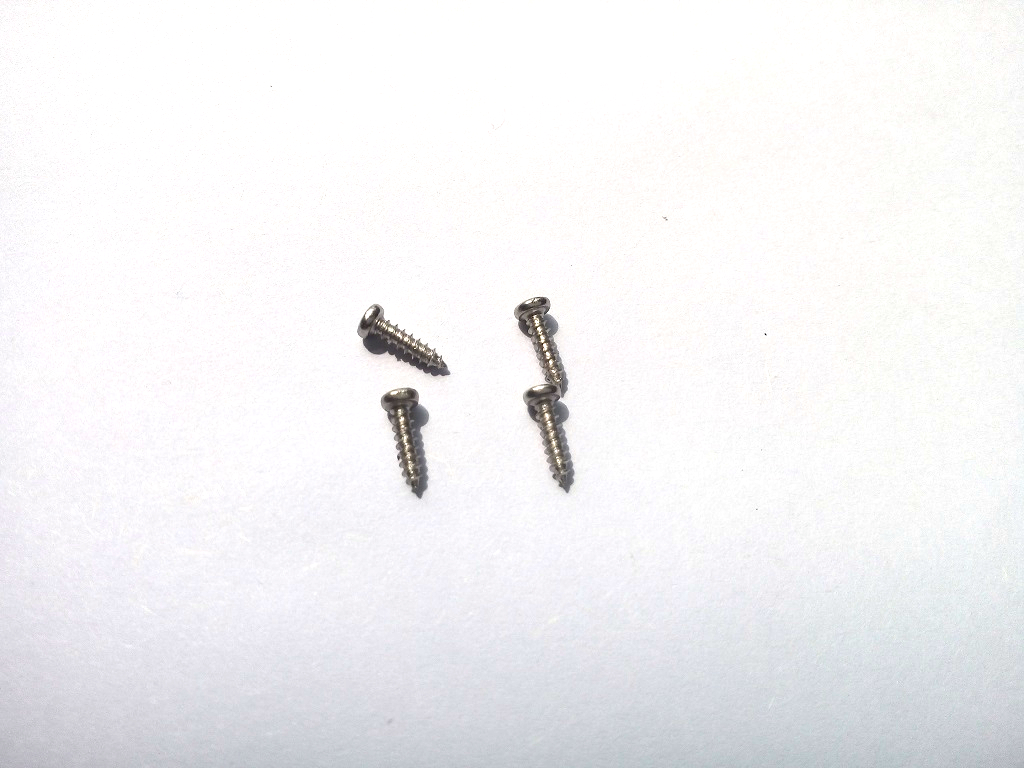
Use 4 small screws to secure the upper and lower case together.

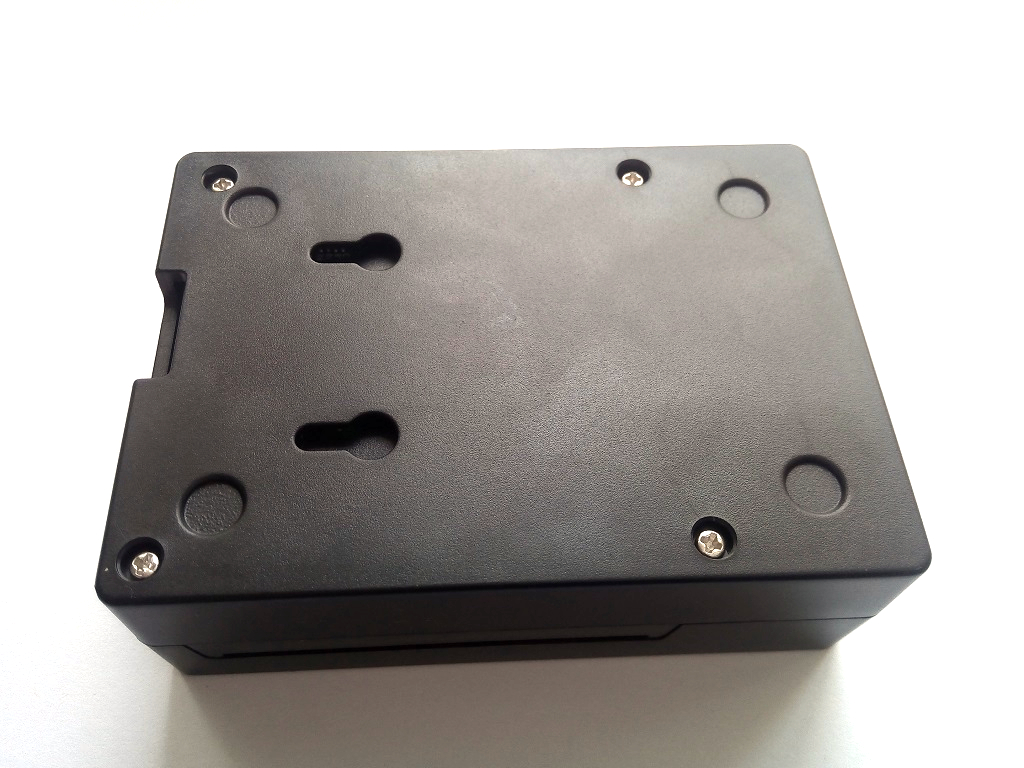
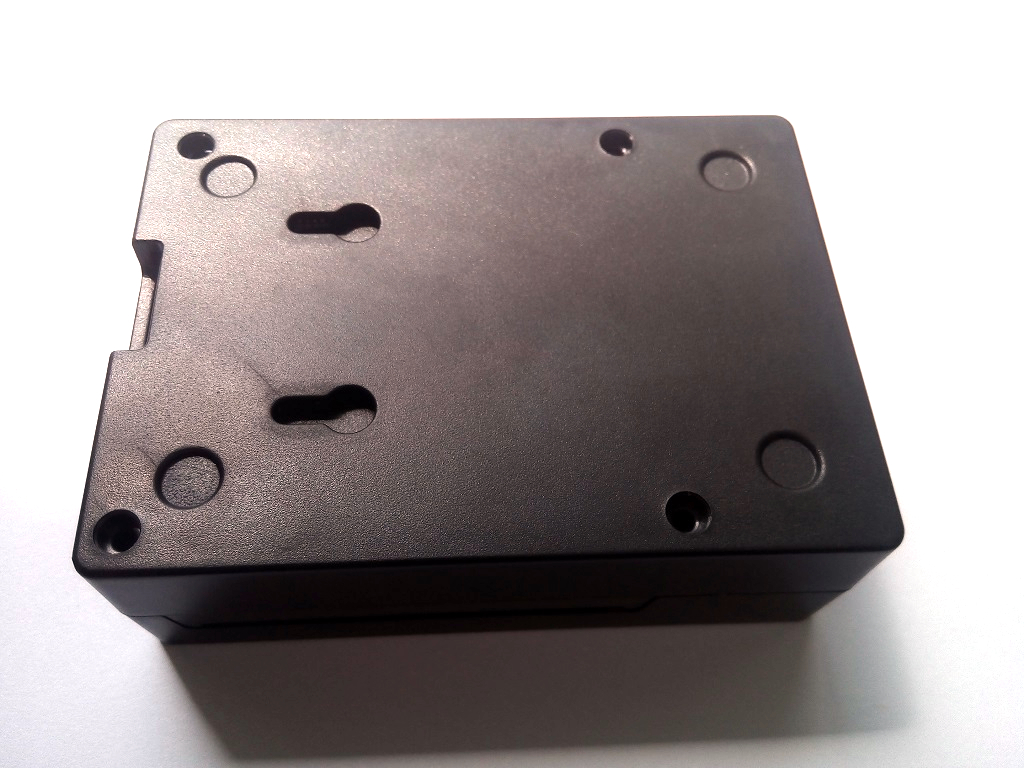
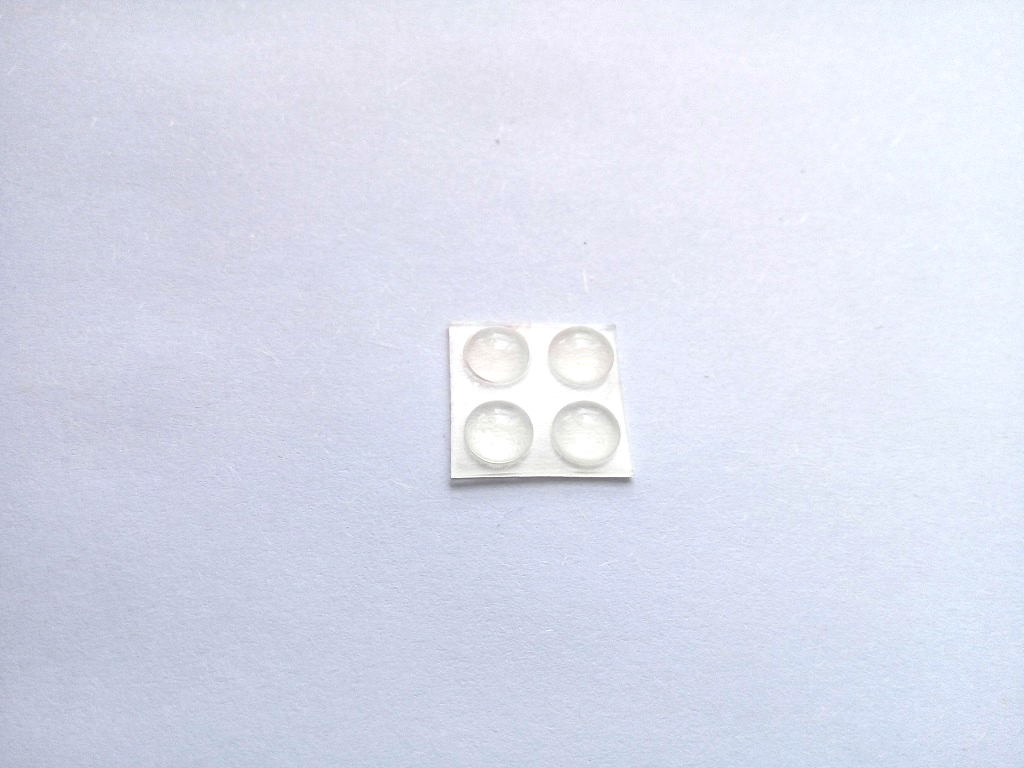
Take out the four rubber pads from the package. Stick them to the two indented circle on the bottom of the Raspberry Pi case.

The assembling of ABS case is finished.

Posted on

How to Assembly Raspberry Pi 3 Acrylic Case

Remove the protective films on the acrylic sheets. Note that there are films on both side of the sheet. If the film is not removed, it may affect the assemble process.

Place the base plate on the Raspberry Pi 3 board. Align the memory chip and TF card slot position correctly.

Insert the two side plates to the base plate. Align the HDMI and microUSB power ports. Make sure the round holes on both side plates are at the same height.

Install the lid. Insert the two bumps of the lid into the holes on the side plates. Make sure the cutout the lid align with the GPIO ports.

Assemble the USB plate. Make sure the two round feet face downward. Insert the protrusions of the side plates into the slots on the USB plate. Do not use excessive force, it may break the case.

Similarly, install the TF card plate. Make sure the round feet face downward. Align the TF card slot.

Finally, check the lid make sure it can be opened and closed freely. GPIO cutout is aligned correctly. All the round feet facing downward.