
Remove the protective films on the acrylic sheets. Note that there are films on both side of the sheet. If the film is not removed, it may affect the assemble process.

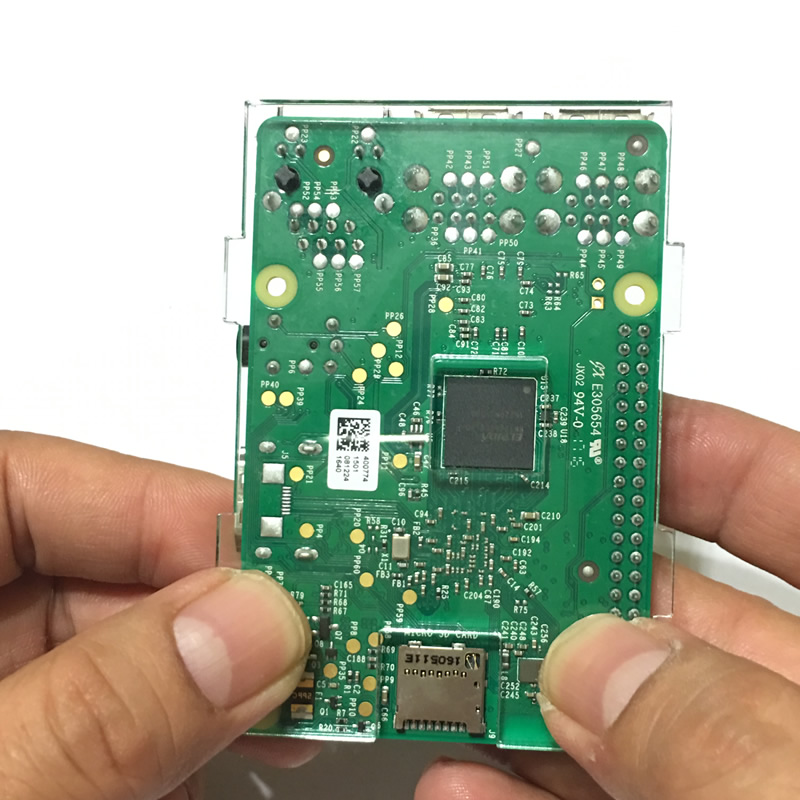
Place the base plate on the Raspberry Pi 3 board. Align the memory chip and TF card slot position correctly.
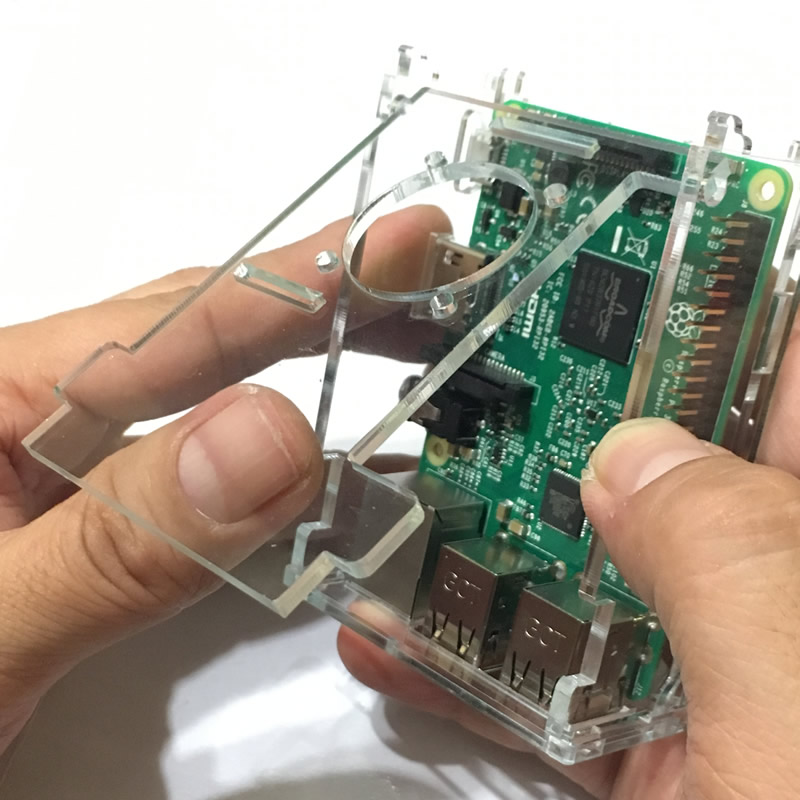
Insert the two side plates to the base plate. Align the HDMI and microUSB power ports. Make sure the round holes on both side plates are at the same height.

Install the lid. Insert the two bumps of the lid into the holes on the side plates. Make sure the cutout the lid align with the GPIO ports.
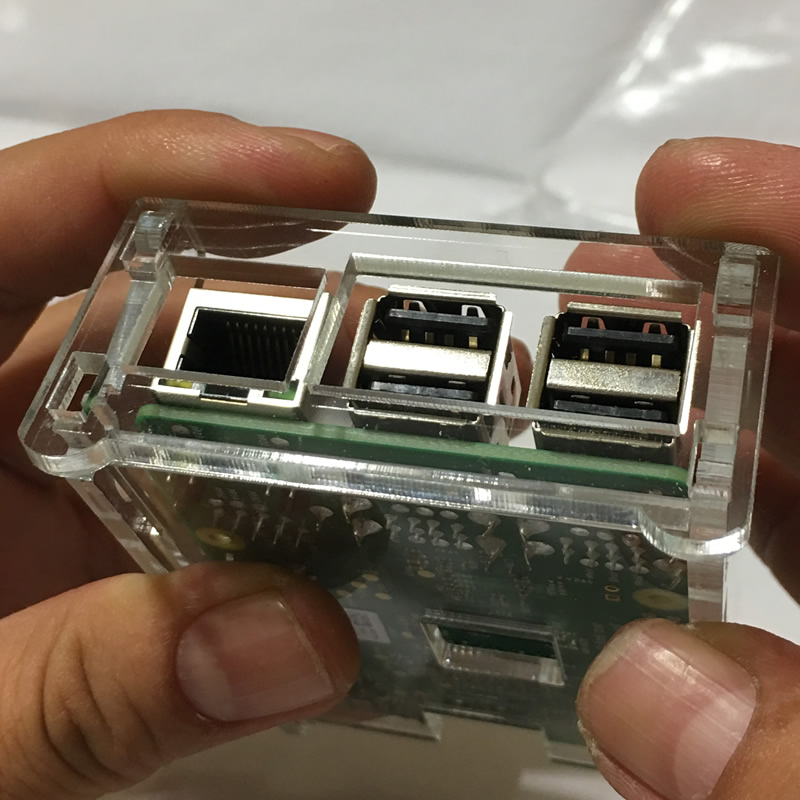
Assemble the USB plate. Make sure the two round feet face downward. Insert the protrusions of the side plates into the slots on the USB plate. Do not use excessive force, it may break the case.
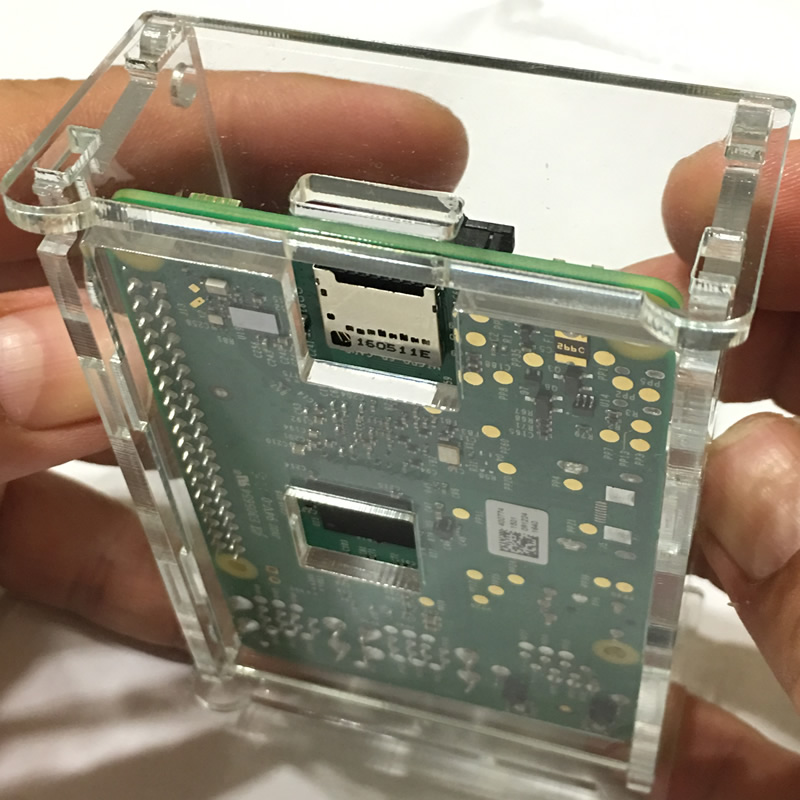
Similarly, install the TF card plate. Make sure the round feet face downward. Align the TF card slot.
Finally, check the lid make sure it can be opened and closed freely. GPIO cutout is aligned correctly. All the round feet facing downward.
